

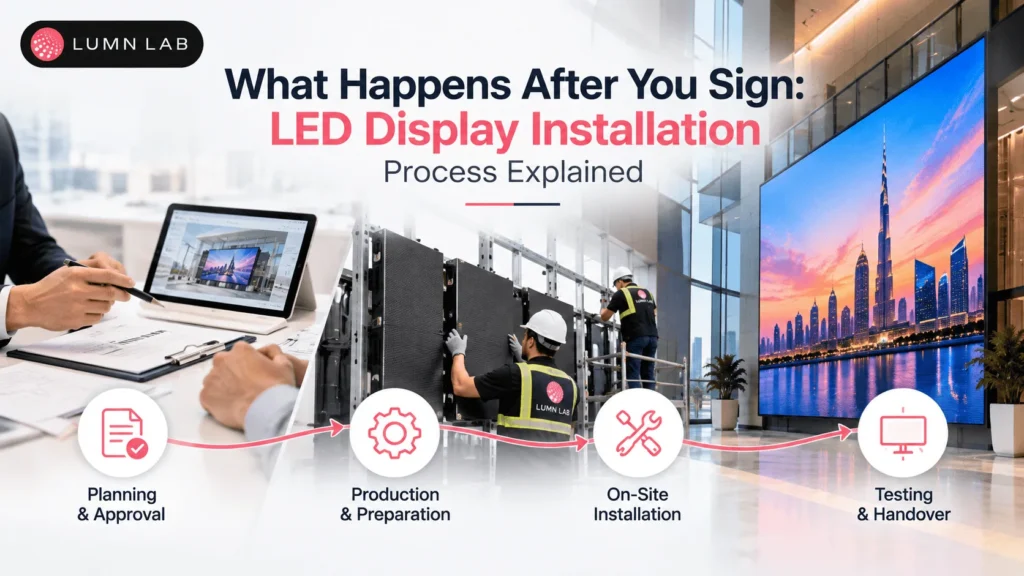

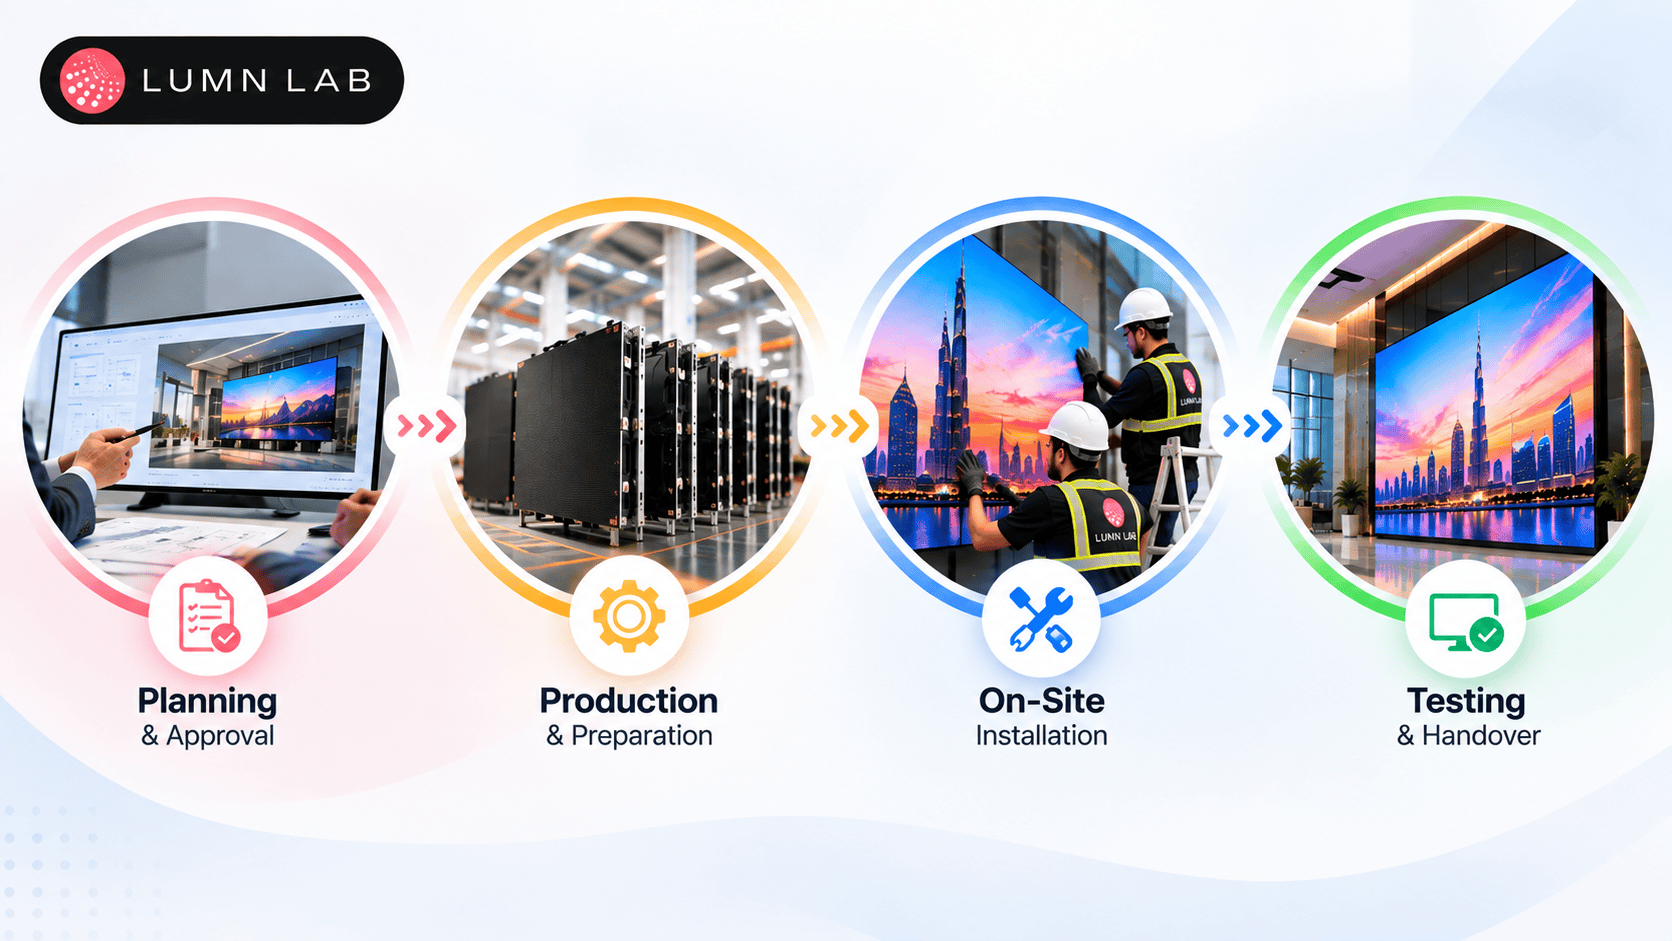
LED display installation follows six stages: site survey, structural work, cabinet mounting, power and data wiring, calibration, and handover. At Lumn Lab, a small indoor screen (up to 20 sq ft) usually goes live in one to two days and a medium video wall in two to four. Outdoor projects run longer, and the delay is rarely the screen itself. It’s structure, approvals and access.
Most buyers spend weeks on pixel pitch and price, then get surprised by everything between the signed quote and the first image on the wall. This guide covers that gap in order, so you know what your vendor should be doing, what you need to arrange, and where projects in Delhi NCR, Mumbai, Bangalore and across India tend to slip.
LED Display Installation Process: Step by Step
The work runs in this order on almost every project.
Step 1: Site survey and structural check
An engineer measures the wall or rig, checks what it can carry, and maps power and cable routes. A fine-pitch cabinet wall is heavy; plain drywall won’t hold it. Outdoor sites also need a wind-load review under IS 875 (Part 3), India’s code for wind forces on hoardings and free-standing structures. If a vendor quotes without visiting, ask what they assumed about your wall.
Step 2: Structure and frame fabrication
The steel frame is built to your cabinet grid with anchors rated for the full load. Get it level and flat: a few millimeters out shows up later as visible seams that no software setting can hide.
Step 3: Delivery, unpacking and inspection
Cabinets are checked on arrival for dents, cracked lamps and damaged connectors, then labeled by position. Replacing a damaged cabinet after the wall is built means taking half of it apart.
Step 4: Mounting the cabinets
Installers start at the bottom center and work upward and outward, which keeps weight balanced and seams easy to align. Pins and quick-locks join each cabinet to its neighbor, and flatness is checked row by row.
Step 5: Power and data wiring
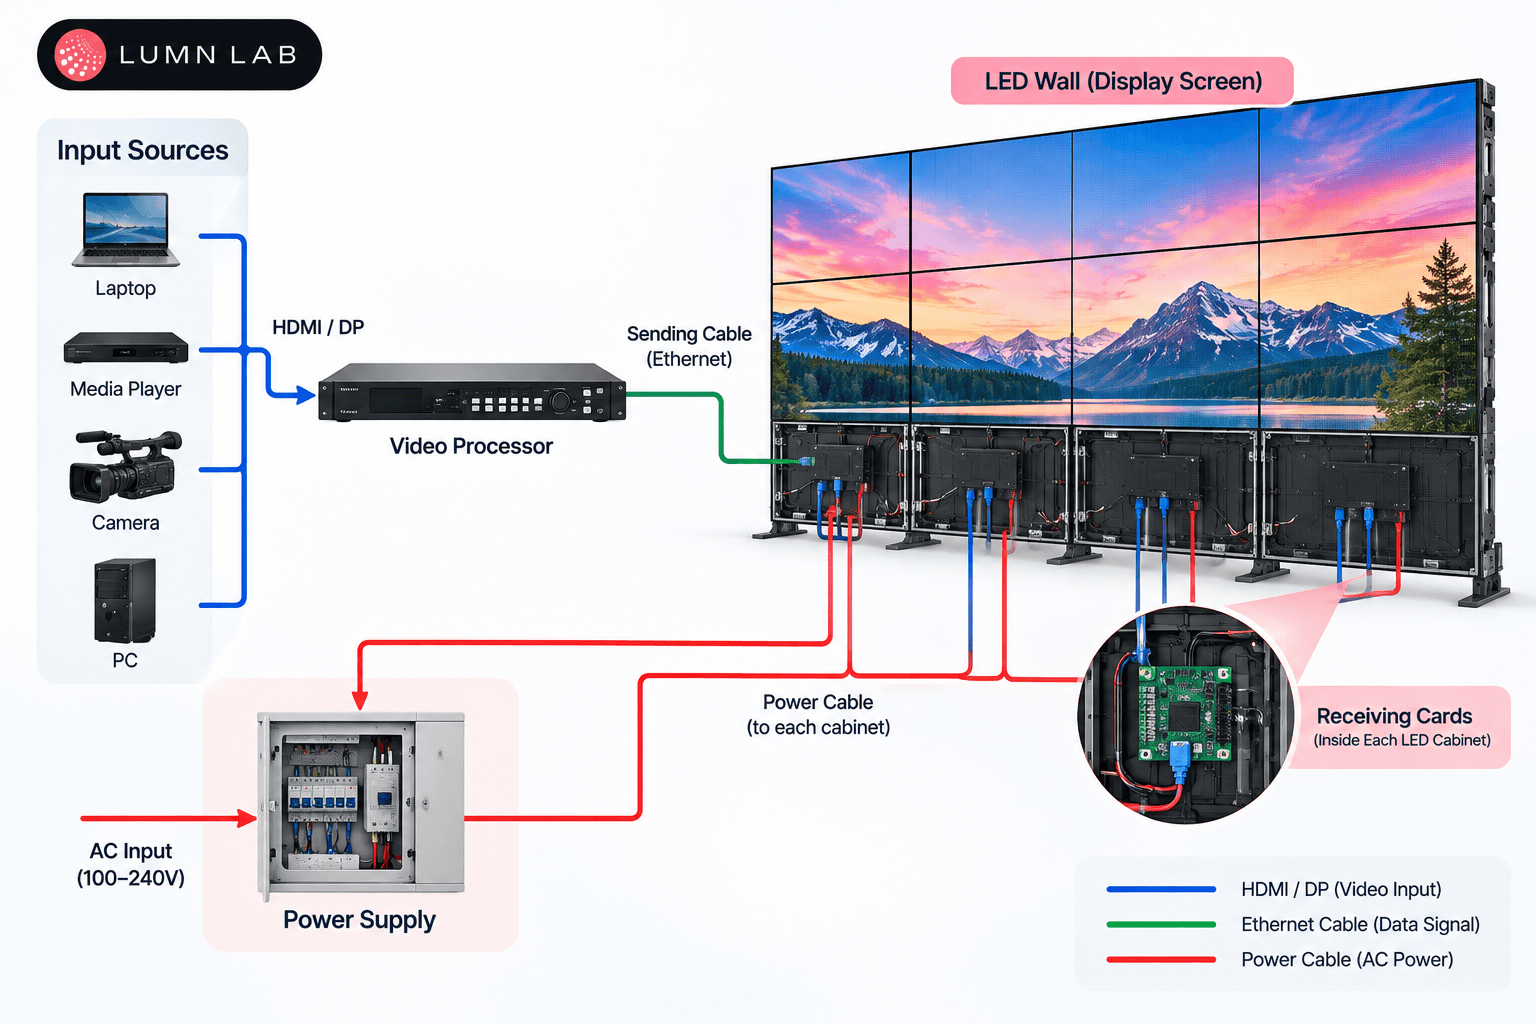
Rushed wiring causes many of the flickers and dropouts that appear months after handover. Power runs in balanced groups to a distribution box, with polarity and earthing checked before power-on. Data runs from the controller through the receiving cards, following the LED wall connection diagram.
Step 6: Calibration, testing and handover
The controller maps every cabinet to the physical layout. Test patterns then reveal dead pixels and uneven brightness, color or seams, followed by real content. At handover, ask for the wiring diagram, a controller settings backup and the LED display installation manual.
LED Display Installation Methods Compared
Which method fits depends on what’s behind the screen and how you’ll service it.
| Method | Best for | Watch out for |
| Wall-mounted | Retail stores, lobbies, offices with solid walls | Needs front-service cabinets, as there’s no rear access |
| Wall-embedded (in-wall) | A flush, architectural finish | Airflow behind the cut-out and front maintenance access |
| Hanging / suspended | Atriums, malls, stages | Certified rigging hardware and side bars to stop swing |
| Freestanding / ground support | Events, exhibitions, open floors | Truss and base plates sized for floor load and wind |
| Pillar / cantilever | Columns, building corners, road-facing sites | Custom structure and the viewing angle from every side |
Indoor, Outdoor and Rental Installation: What Changes on Site
Indoor LED display installation
Indoor work is about precision and timing. Fine-pitch walls (P1.2 to P2.5) are viewed from 1.5 to 3 meters, so alignment has to be tight, and integrators commonly follow AVIXA’s guidance on display size and viewing distance. Offices, hotels and shops often need after-hours work. On our HOCCO Ice Cream storefront in Delhi (P4, 10 × 10 ft), viewing distance settled the pixel pitch before anyone drilled a bracket.
Outdoor LED display installation
Outdoor adds weather, wind and permissions. Cabinets are sealed and drained, and the steel structure is earthed with lightning protection. A well-rated cabinet can still leak through a badly sealed cable entry, so ask whether the quoted IP rating covers the whole assembly. Screens facing public roads may need municipal approval, and rules differ across Delhi, Mumbai and Bangalore.
Rental LED display installation
Rental rigs use lightweight aluminium cabinets that hang from truss or stand on base plates. Lumn Lab’s rental range (P2.9 to P3.9) is delivered, rigged, operated and struck by our team. Book load-in and a full test run hours before doors open.
Why Professional LED Display Installation Matters
An LED wall is a structure, a power system and a data network in one, and each fails in its own way.
• Structure: anchors and frames sized for weight and wind.
• Electrics: balanced loads, earthing and surge protection.
• Image: seams, color and brightness tuned as one surface.
• Warranty: some exclude damage from installation by unapproved crews. Read yours.
Lumn Lab has been installing LED displays since 2015 and has completed 1,000+ installations across India, including stadium-scale outdoor projects.
| Planning a site in Gurgaon, Noida or anywhere else in India? Ask for an LED display installation consultation and get a survey-based plan before you commit. |
How to Fix an Uneven LED Screen Installation
Uneven means visible seams, a step between cabinets, or patches of different color. Fix it in this order:
1. Check the frame with a level. A twisted frame can’t be fixed from the cabinet side.
2. Re-seat the cabinets and close gaps with the alignment adjusters, tightening from the bottom up.
3. Inspect connections on any patch that flickers or goes dark.
4. Recalibrate brightness and color across the whole wall.
If you can feel a step with your hand or see the wall bow, the fix is structural. Call the installer back.
Expert Recommendations
• Get the survey before the quote is final. A price without a site visit is a guess.
• Name one owner for the structure. Split responsibility is where delays and disputes begin.
• Confirm power early: load in kW, a dedicated circuit, earthing. Older buildings in Delhi NCR, Mumbai and Bangalore can need electrical upgrades first.
• Choose front-service cabinets for wall-mounted screens.
• Test with your own content, not only test patterns, before sign-off.
• Settle the AMC at handover and file the connection diagram. Whoever services the screen in year three will need both.
Ask for the Installation Plan Before You Sign
Good LED display installation is mostly invisible: straight seams, steady power, no surprises on launch day. Smooth projects share three things: a real site survey, one clear owner for structure and electrics, and a written handover.
Lumn Lab has served clients since 2015, with 1,000+ installations and BIS, ISO and IP65-certified panels, across Delhi NCR, Gurgaon, Noida, Mumbai, Bangalore and the rest of India. Share your location, screen size and use case, and we’ll send back a plan for how it gets built, not just a price.
| Not sure what your wall or site can carry? Book a free site consultation with Lumn Lab before you finalize the quote. |
Frequently Asked Questions
What are the steps in LED display installation?
Site survey, frame fabrication, unpacking and inspection, cabinet mounting, power and data wiring, then calibration, testing and handover. Outdoor screens add wind-load design, weather sealing and earthing.
How do I install an LED panel or cabinet?
Mount it on a level frame from the bottom center upward, lock it to its neighbor with the built-in pins or quick-locks, connect power and data, then check flatness. Leave large or outdoor panels to trained crews.
How do I program an LED screen?
You configure the controller, not the panels. Load the cabinet layout into the sending card software, set resolution and brightness, then send content from a media player or computer.
How long does LED display installation take?
At Lumn Lab, small indoor installations up to 20 sq ft usually take one to two days and medium video walls two to four. Outdoor and structural projects take longer, depending on survey, approvals and access.
How much does LED display installation cost?
The LED screen setup price depends on screen size, mounting height, structure, cable runs and site access, so a storefront and a rooftop differ widely. Ask for structure, wiring and commissioning itemised. For project ranges, see Lumn Lab’s LED display price guide.
Which LED display installation method is best?
Wall-mounted suits solid walls, in-wall a flush finish, hanging open atriums, freestanding events, and pillar or cantilever columns and corners. Let load capacity and maintenance access decide, not looks alone.
Why does my LED screen look uneven after installation?
Usually an unlevel frame, cabinets not fully seated, a loose data connection or missing calibration. Check the frame first, re-seat the cabinets, then recalibrate the whole screen.
When do I need approval for an outdoor LED display in India?
Before fabrication starts. Screens facing public roads, or on rooftops and facades, often need municipal or advertising-authority approval, and rules differ between Delhi, Mumbai and Bangalore. Get the building owner’s consent in writing.
Keep Reading